
This is a record of building my blog from an empty repository, deploying it at nowkim.dev, and adding views, likes, and comments.
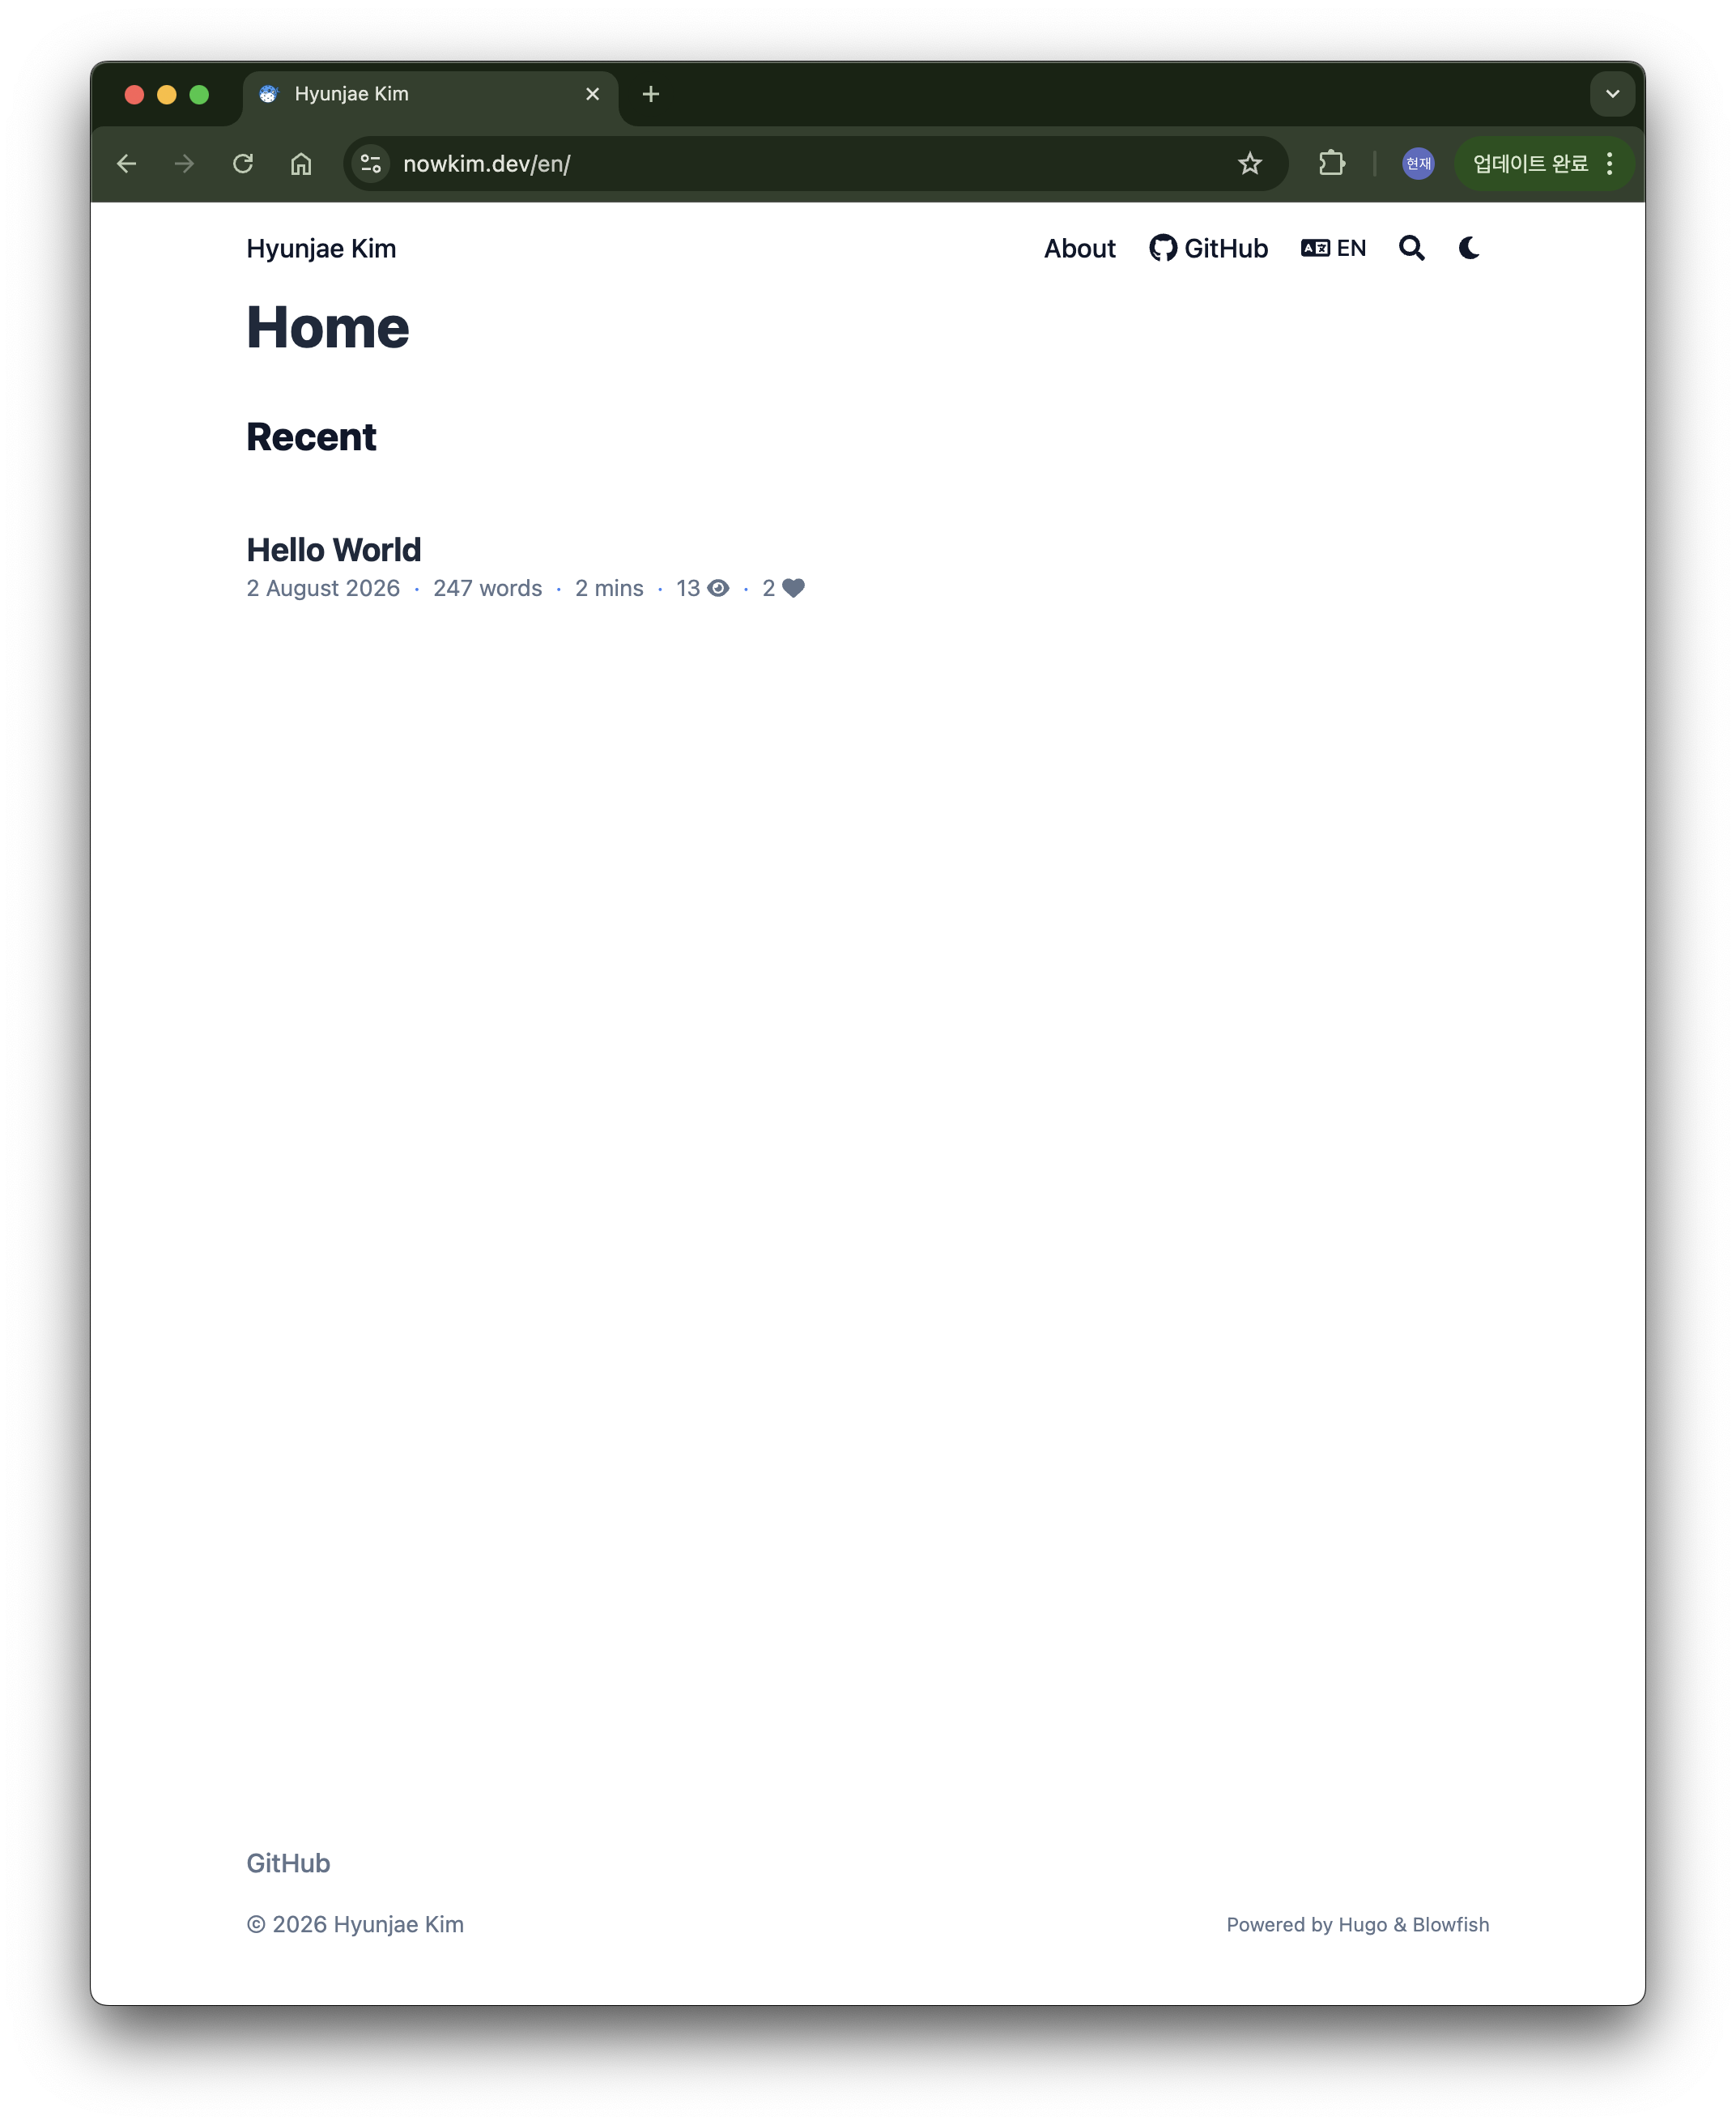
Requirements#
- Support both Korean and English
- Make writing, deployment, and maintenance convenient
- Avoid running a server myself
- Support views, likes, and comments
- Keep it free! (Most Important)
I decided to keep the content in Markdown files and use external tools only for replaceable parts such as deployment and comments.
Korean and English Support — Hugo and Blowfish#
I chose Hugo as the static site generator and Blowfish as the theme. Because the content is Markdown-based, the posts remain in the repository. Hugo only needs to deploy static files, so there is no server to operate. Blowfish also already provides useful basics such as multilingual support, dark mode, and search.
I added the theme as a Git submodule.
git submodule add -b main https://github.com/nunocoracao/blowfish.git themes/blowfishWhen cloning the repository for the first time, clone its submodules too.
git clone --recurse-submodules <repository-url>I split the content into language-specific directories.
content/
  ko/posts/<slug>/index.md
  en/posts/<slug>/index.md
Each language configuration points to its own content directory.
# config/_default/languages.ko.toml
locale = "ko"
label = "한국어"
contentDir = "content/ko"

# config/_default/languages.en.toml
locale = "en"
label = "English"
contentDir = "content/en"
The Korean and English versions of the same post use the same translationKey. Hugo uses it to identify translations and generate language-switching links.
translationKey: "hello-world"To preview drafts locally, run:
hugo server -D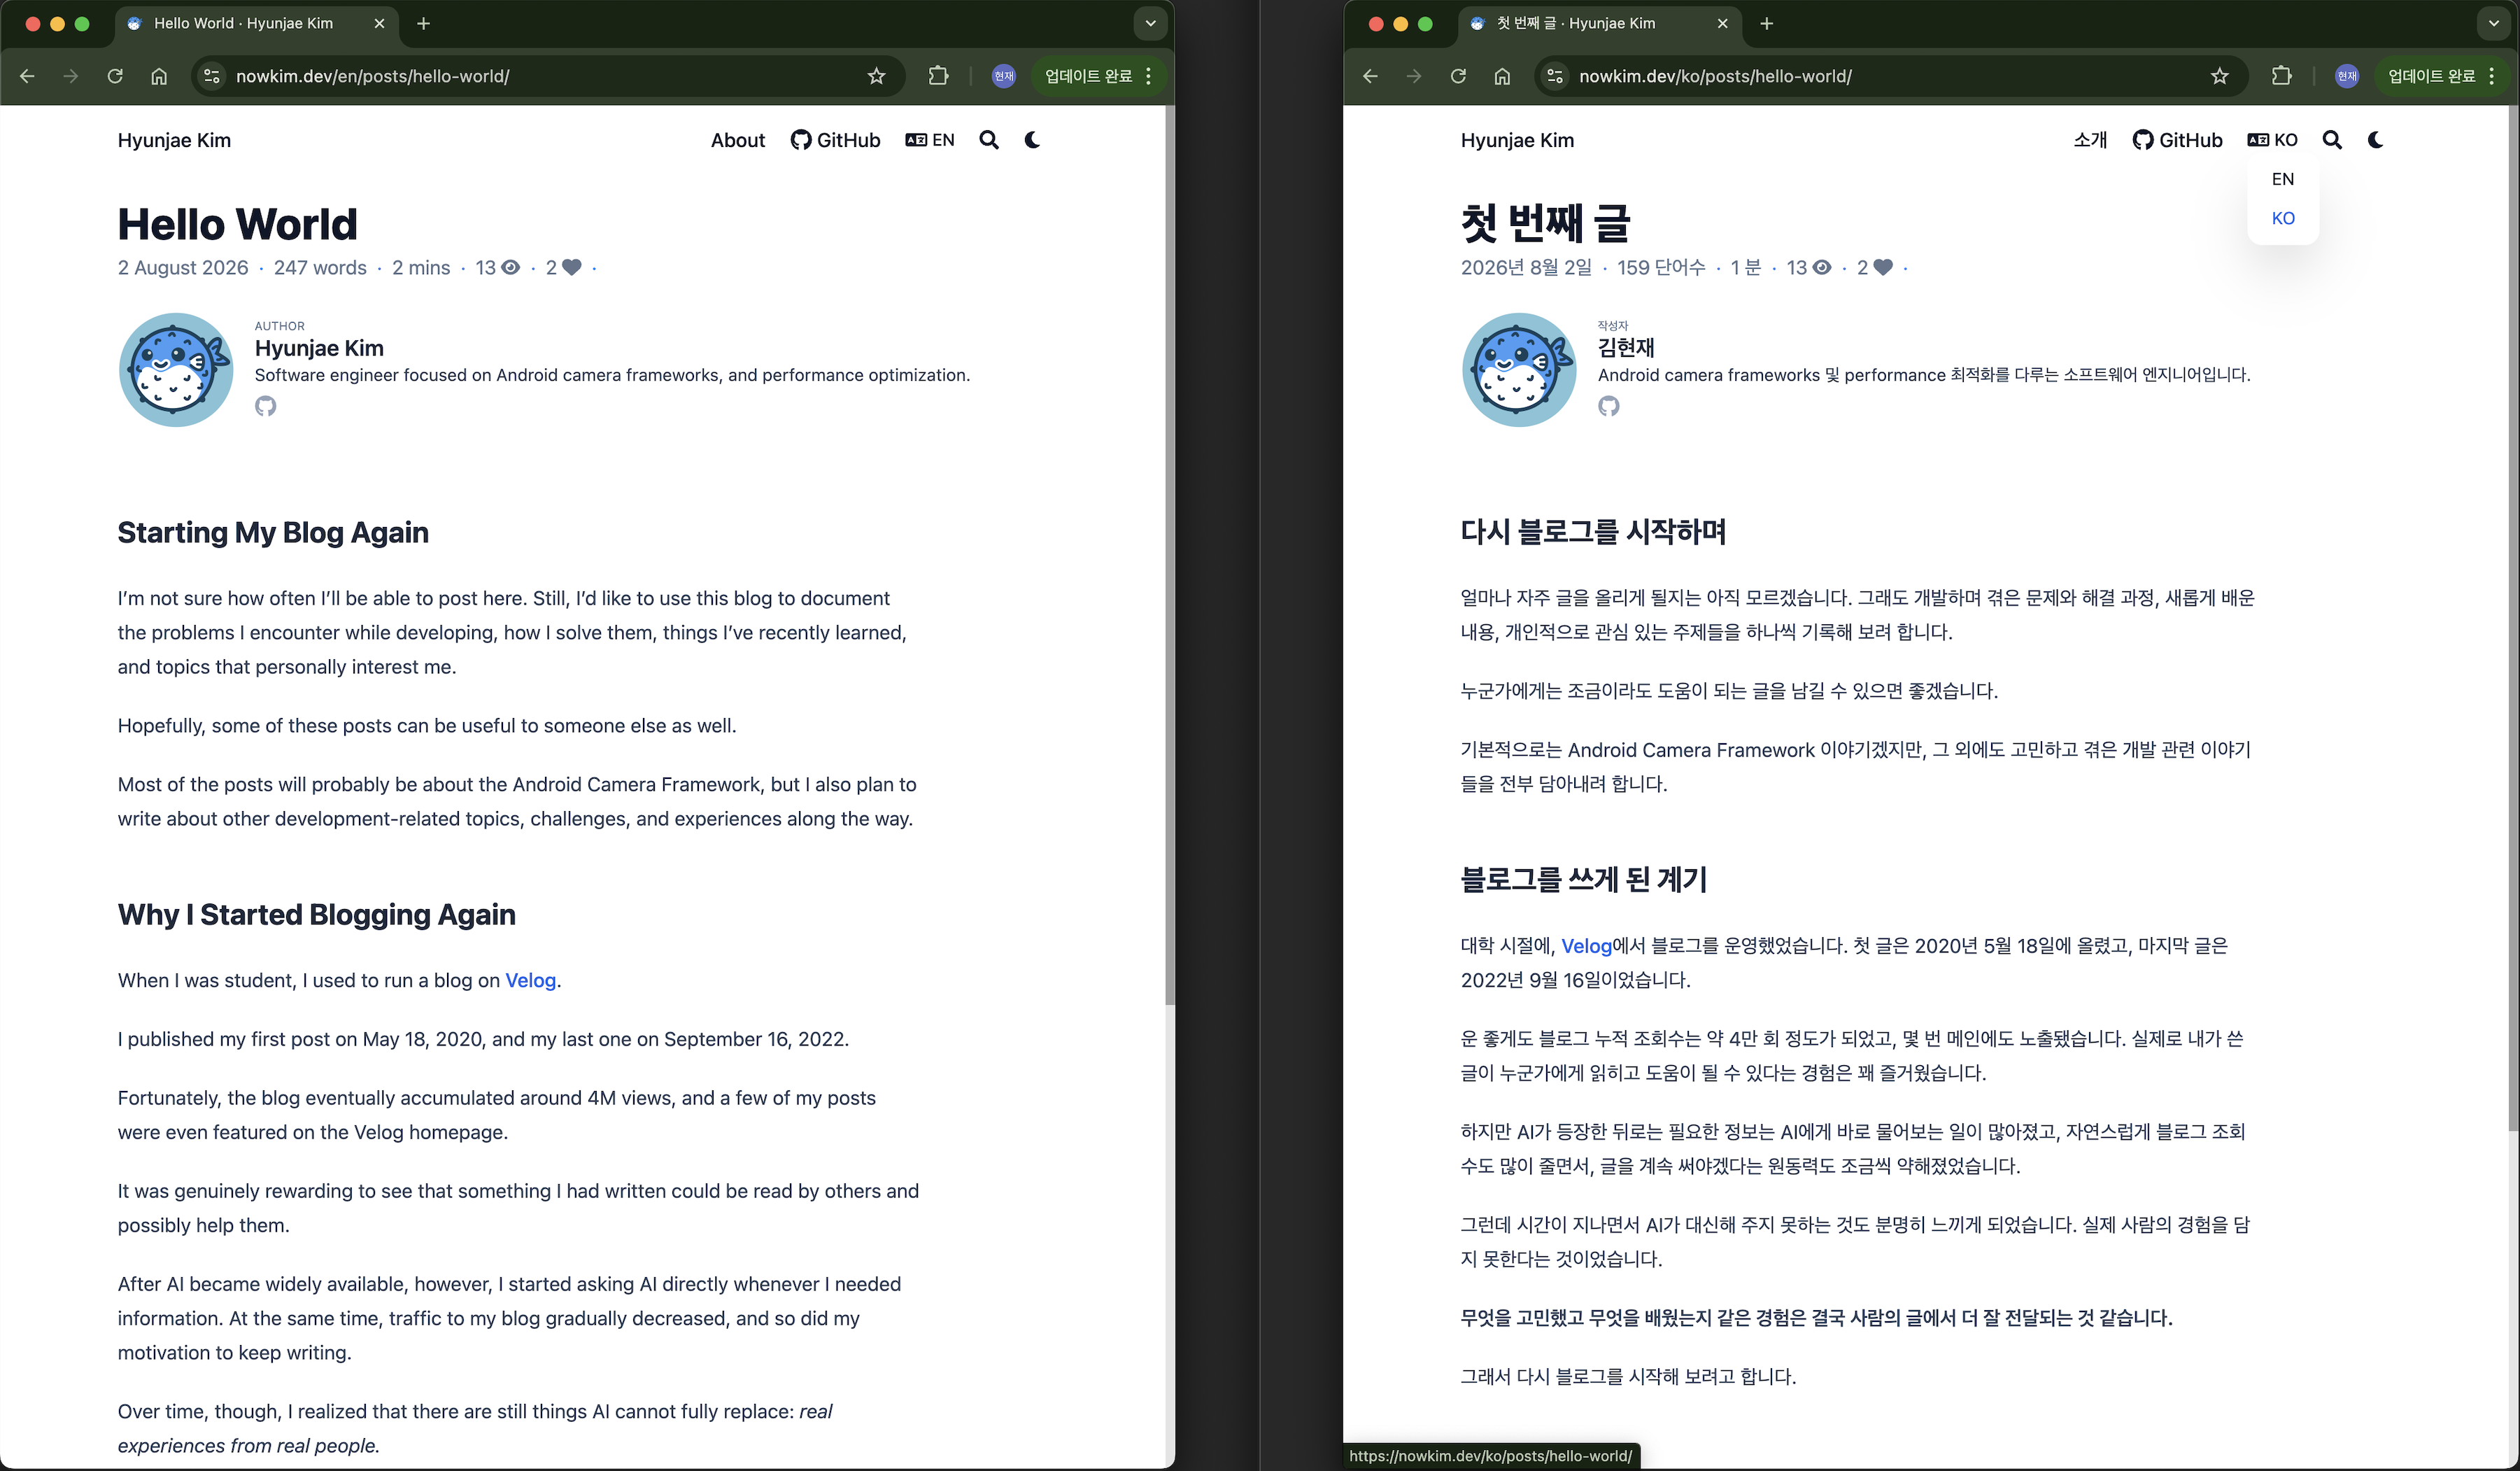
Convenient Writing, Deployment, and Maintenance — GitHub and Netlify#
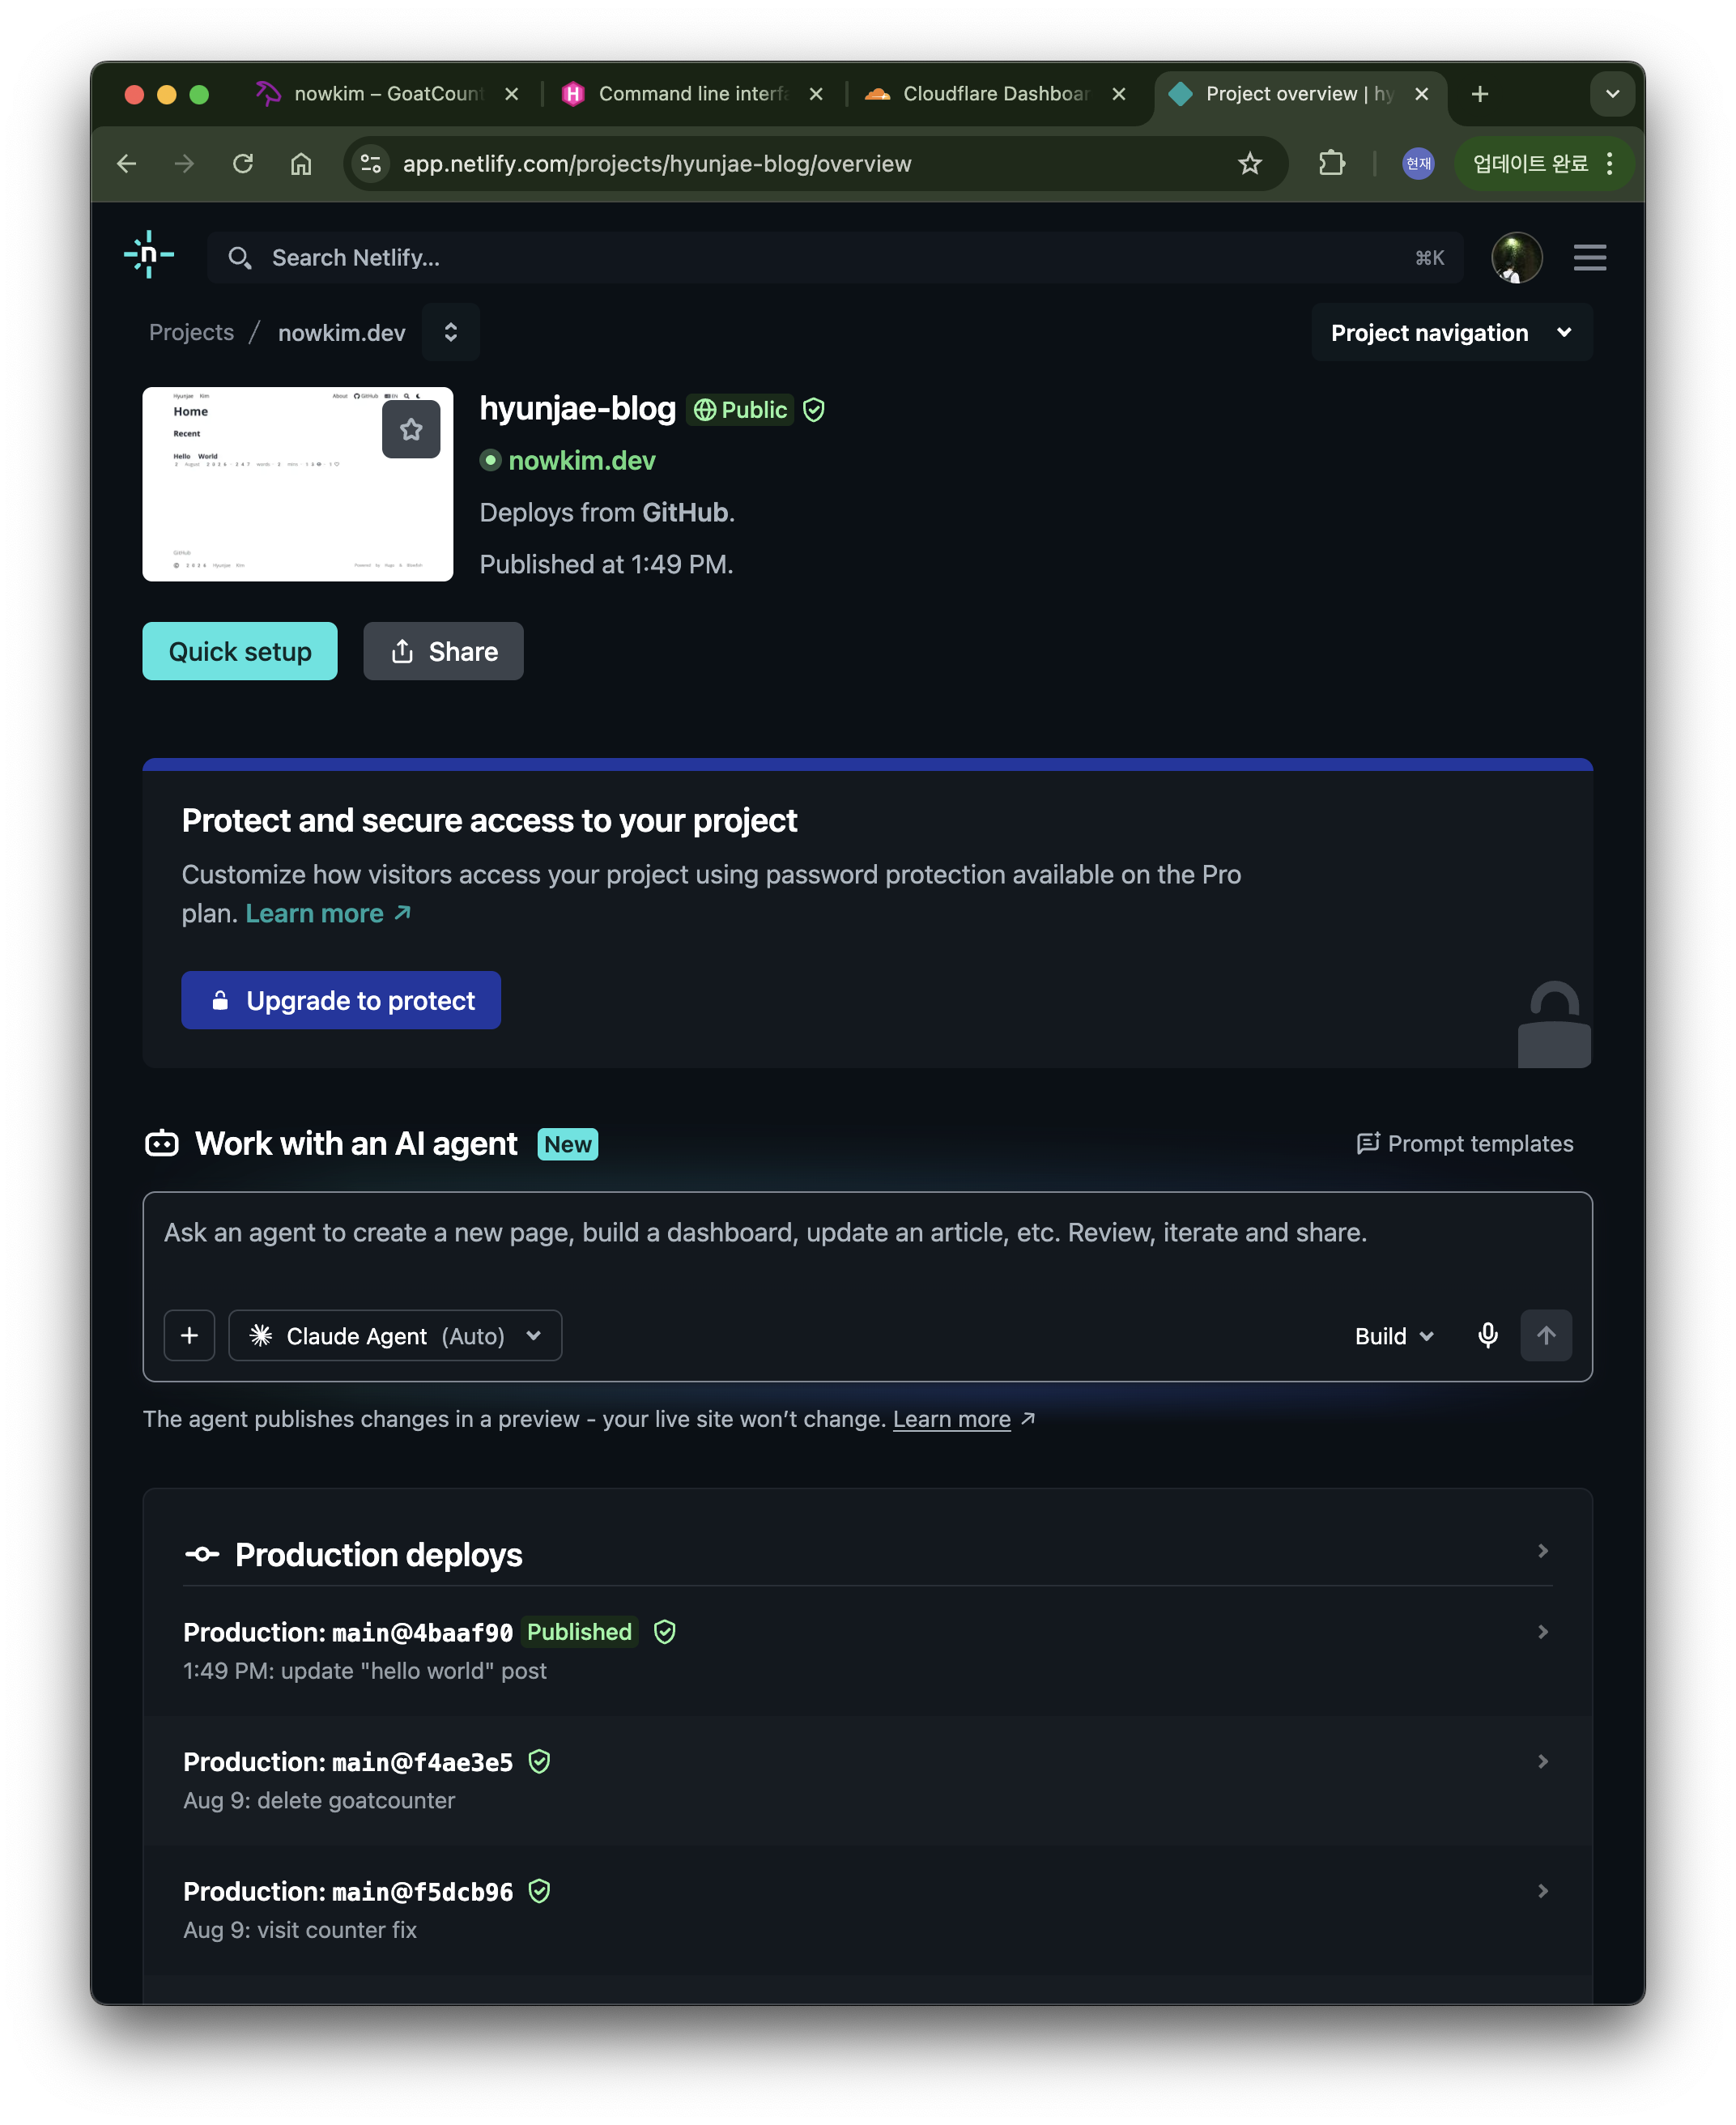
I write posts in Markdown and push them to the main branch on GitHub. Netlify then builds and deploys the Hugo site automatically.
Write in Markdown → preview locally → git push → Netlify build → deployRather than keeping the configuration only in the Netlify dashboard, I committed it as netlify.toml.
[build]
  command = "hugo --gc --minify -b $URL"
  publish = "public"

[build.environment]
  HUGO_VERSION = "0.164.0"
  HUGO_ENV = "production"
  TZ = "Asia/Seoul"
publish points Netlify to Hugo’s output directory. Pinning the Hugo version reduces the chance of builds behaving differently locally and in production. Before pushing, I can also verify a production-style build locally.
hugo --gc --minifyI do not keep generated files in Git.
public/
resources/
.hugo_build.lock
After connecting the GitHub repository in Netlify, I confirmed the first deployment worked with this configuration.
Connecting My Domain#
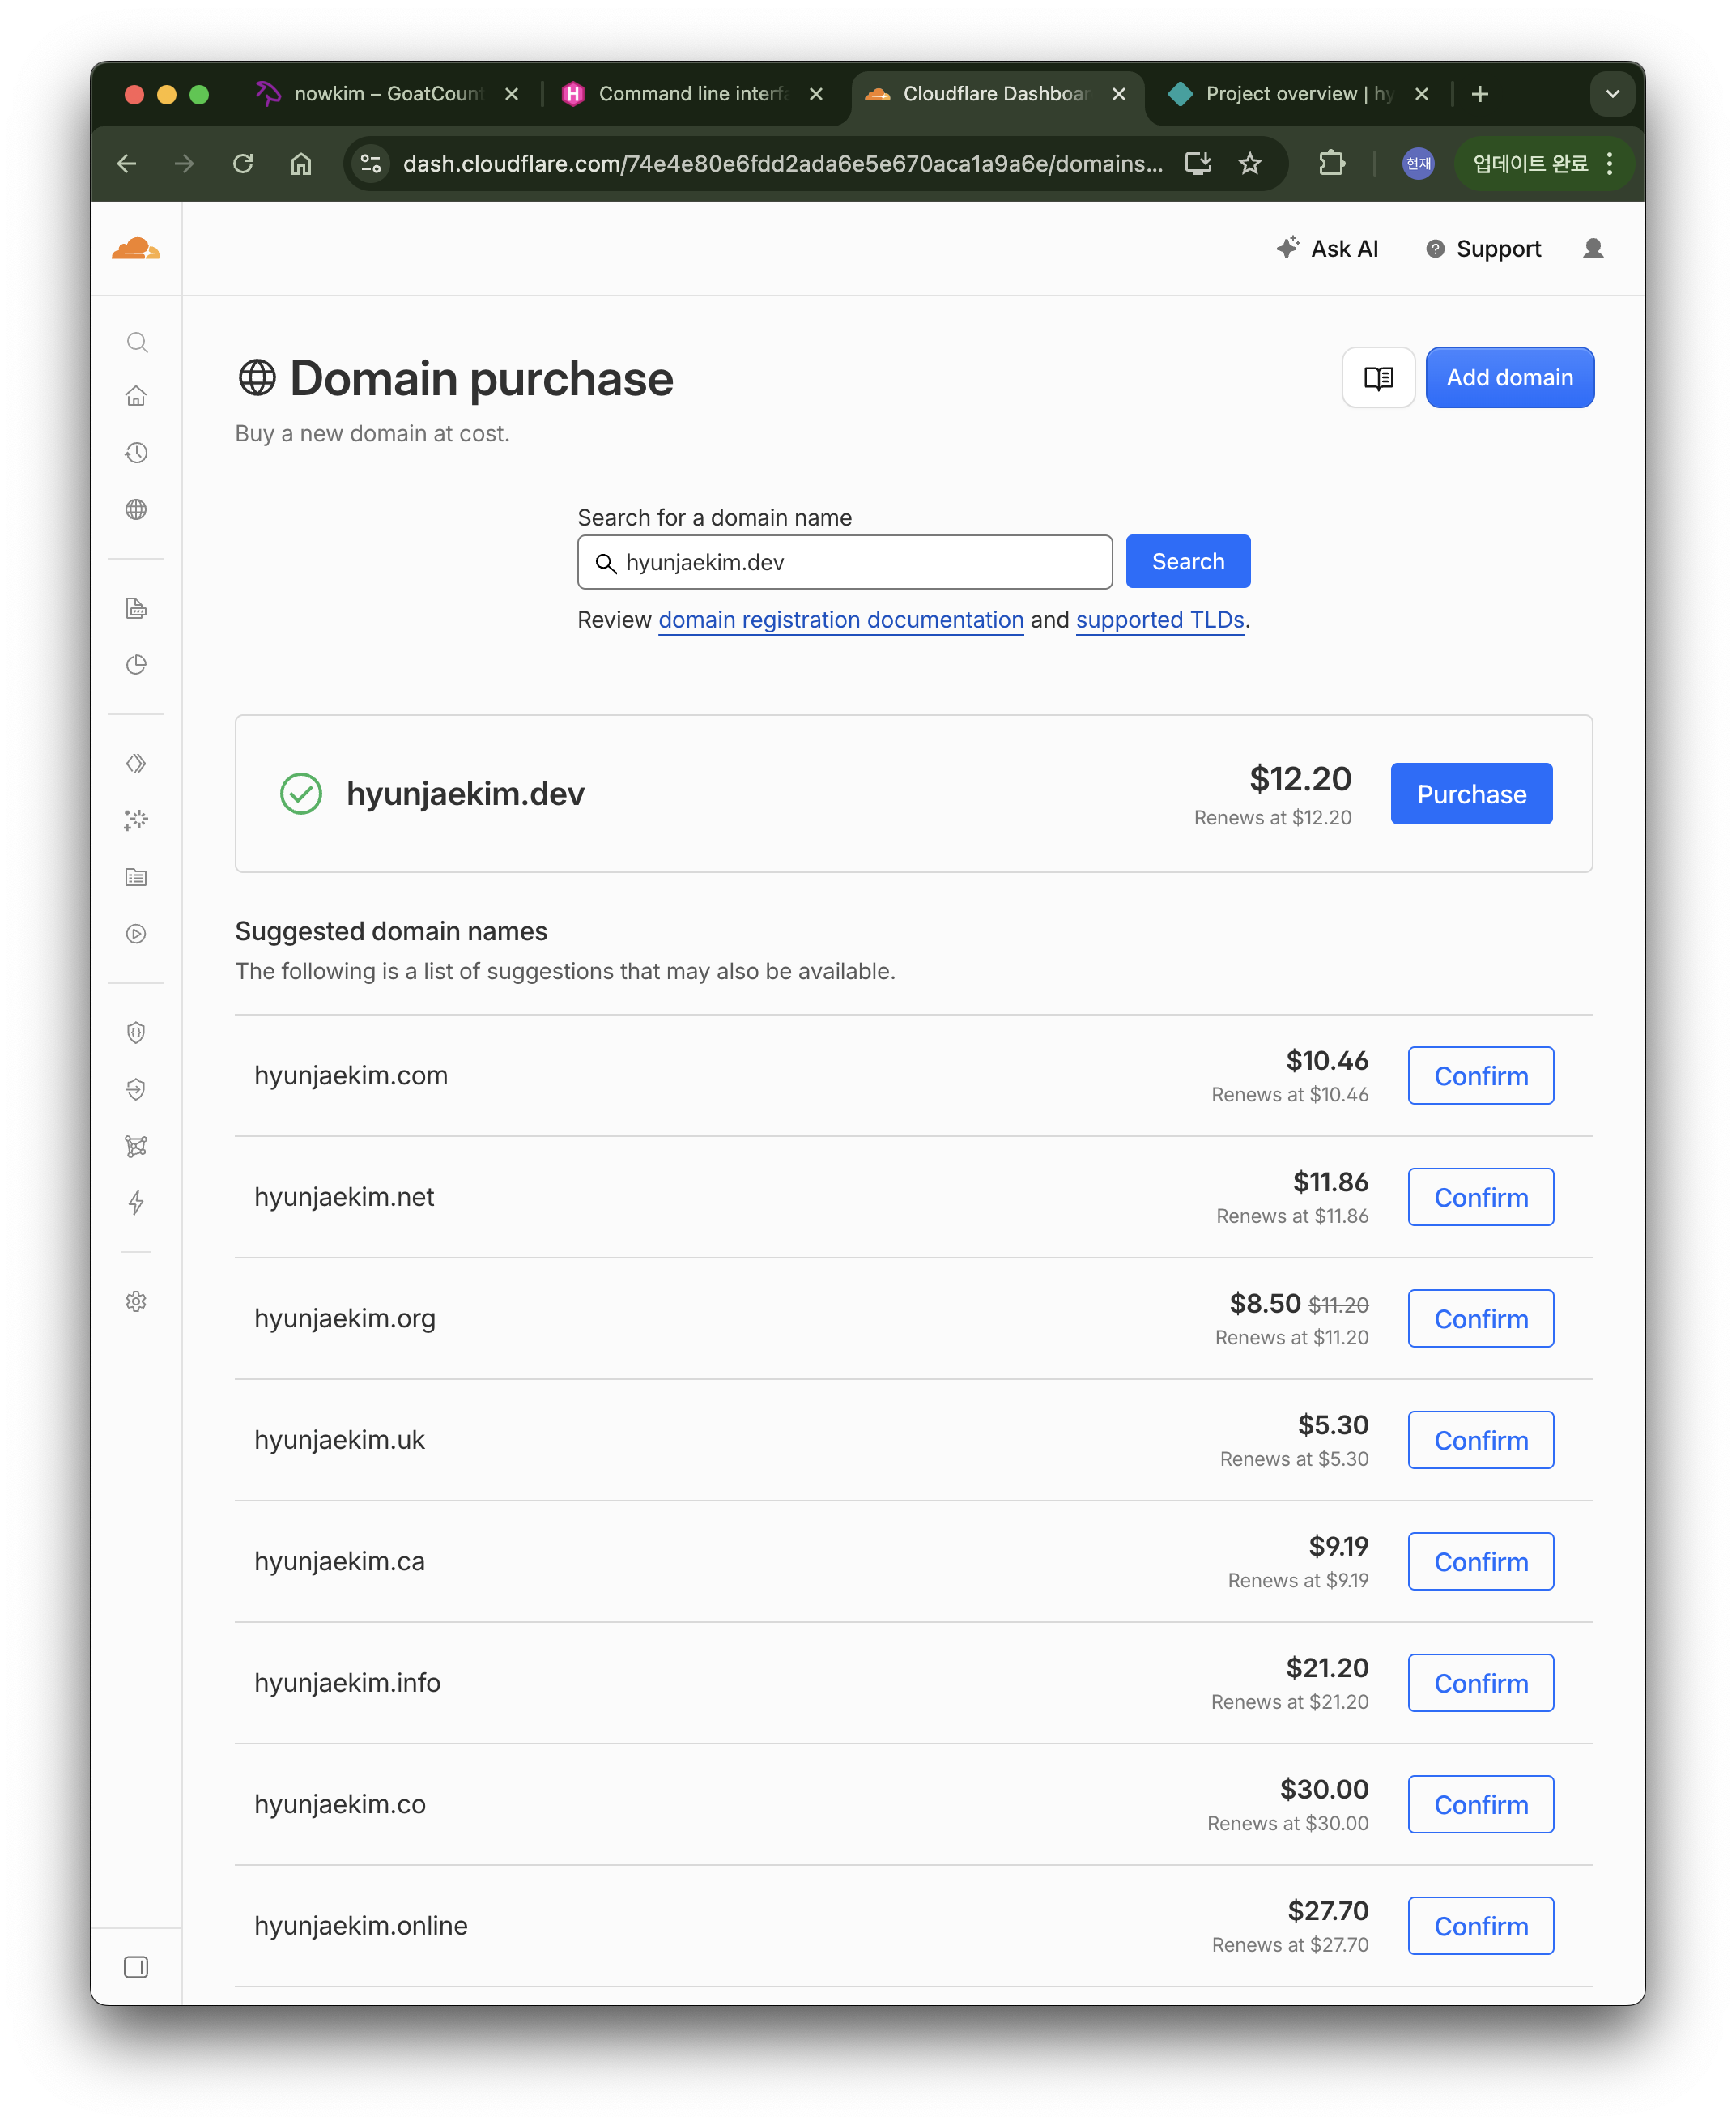
Instead of using Netlify’s default URL, I used nowkim.dev. I configured the DNS records Netlify provided in Cloudflare, added the custom domain in Netlify, and confirmed that HTTPS was active.
Hugo’s canonical site URL also needs to match the real domain.
baseURL = "https://nowkim.dev/"The .dev domain cost $12.50 per year. More than I expected.
If the domain configuration and baseURL differ, the old URL can remain in the sitemap or generated links.
Views, Likes, and Comments Without Running a Server — Netlify Functions, Upstash Redis, and Giscus#
A static site has nowhere to store view or like counts. I split the responsibilities like this so that I would not need to run a server just for these features.
This was also the point where I used an AI agent for implementation, reviewed the result, and committed it.
| Feature | Tool |
|---|---|
| Static site deployment | Netlify |
| Views and likes API | Netlify Functions |
| Views and likes data | Upstash Redis |
| Comments | Giscus + GitHub Discussions |
I initially tried Umami and GoatCounter. They were quick to start with, but they were limiting when I wanted to combine an in-page counter with likes. In the end, I decided to control the counters myself.
Views and Likes#
Netlify Functions store the data in Upstash Redis. I put the Redis URL, token, and visitor-identification secrets in Netlify environment variables instead of the code.
UPSTASH_REDIS_REST_URL=<Upstash Redis REST URL>
UPSTASH_REDIS_REST_TOKEN=<Upstash Redis REST token>
LIKE_HMAC_SECRET=<long random secret>
VIEW_HMAC_SECRET=<long random secret>
VIEW_SESSION_TTL_SECONDS=28800
These values can be stored locally in .env, but they should never be committed to Git.
The views API hashes the browser’s visitor ID with HMAC, then checks Redis to see whether the visitor has already viewed the post. A default TTL of eight hours prevents the count from increasing on every refresh.
Visit a post → identify the visitor → check for a duplicate → increment only when newLikes use the same visitor-state approach and toggle off when clicked again.
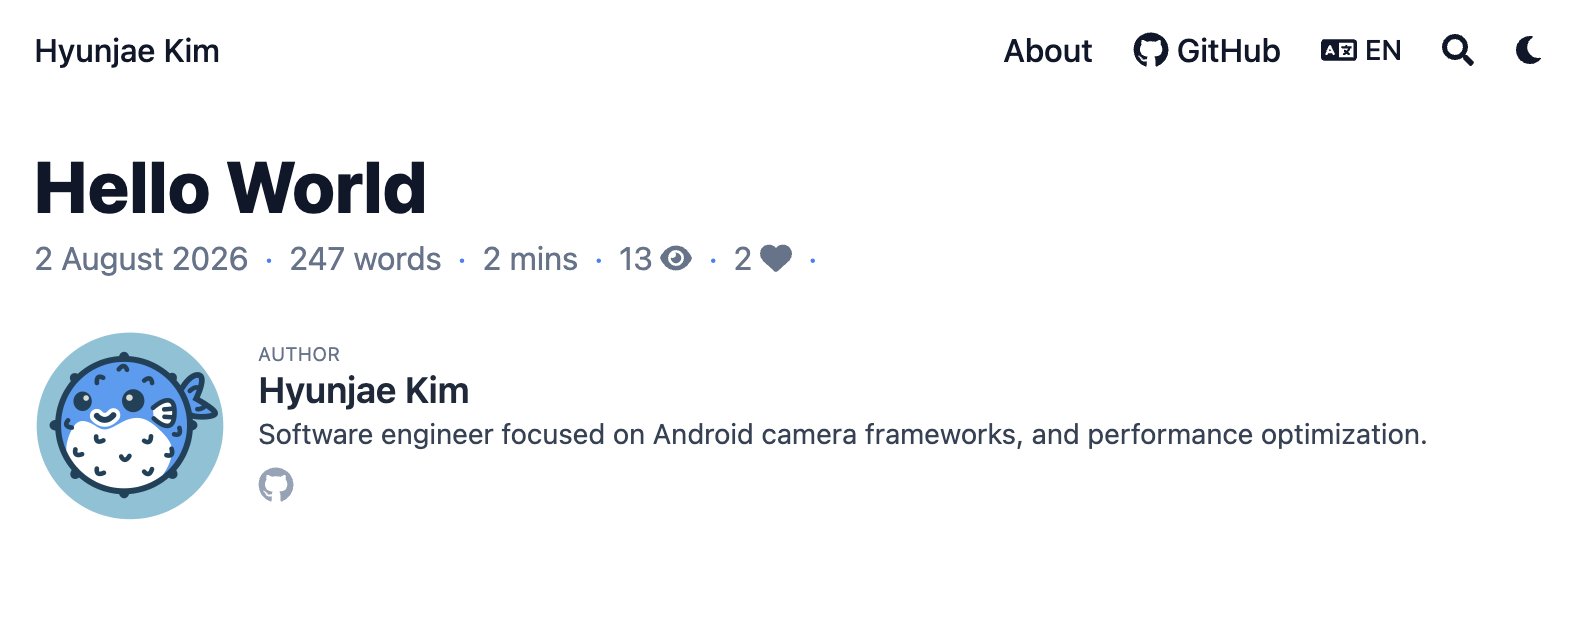
When adding the counters to the theme, I also had to check the metadata shown on post lists, tags, and category pages. Updating only the article page made the display inconsistent, so I added shared partials under layouts/partials/article-meta/.
Comments — Giscus#
Building comments myself would mean handling authentication, spam prevention, and storage. I delegated that part to Giscus, which uses GitHub Discussions as its storage.
The setup is straightforward.
- Enable Discussions in a GitHub repository for comments.
- Install the Giscus app and grant it access to the repository.
- Choose the repository and Discussion category on the Giscus configuration page.
- Add the generated
repoIdandcategoryIdto the configuration. - Insert the Giscus script on post pages.
I use translationKey, rather than the URL, as the comment identifier so the Korean and English versions share one discussion.
<script
  src="https://giscus.app/client.js"
  data-mapping="specific"
  data-term="{{ .TranslationKey }}"
  data-lang="{{ .Site.Language.Lang }}"
  async>
</script>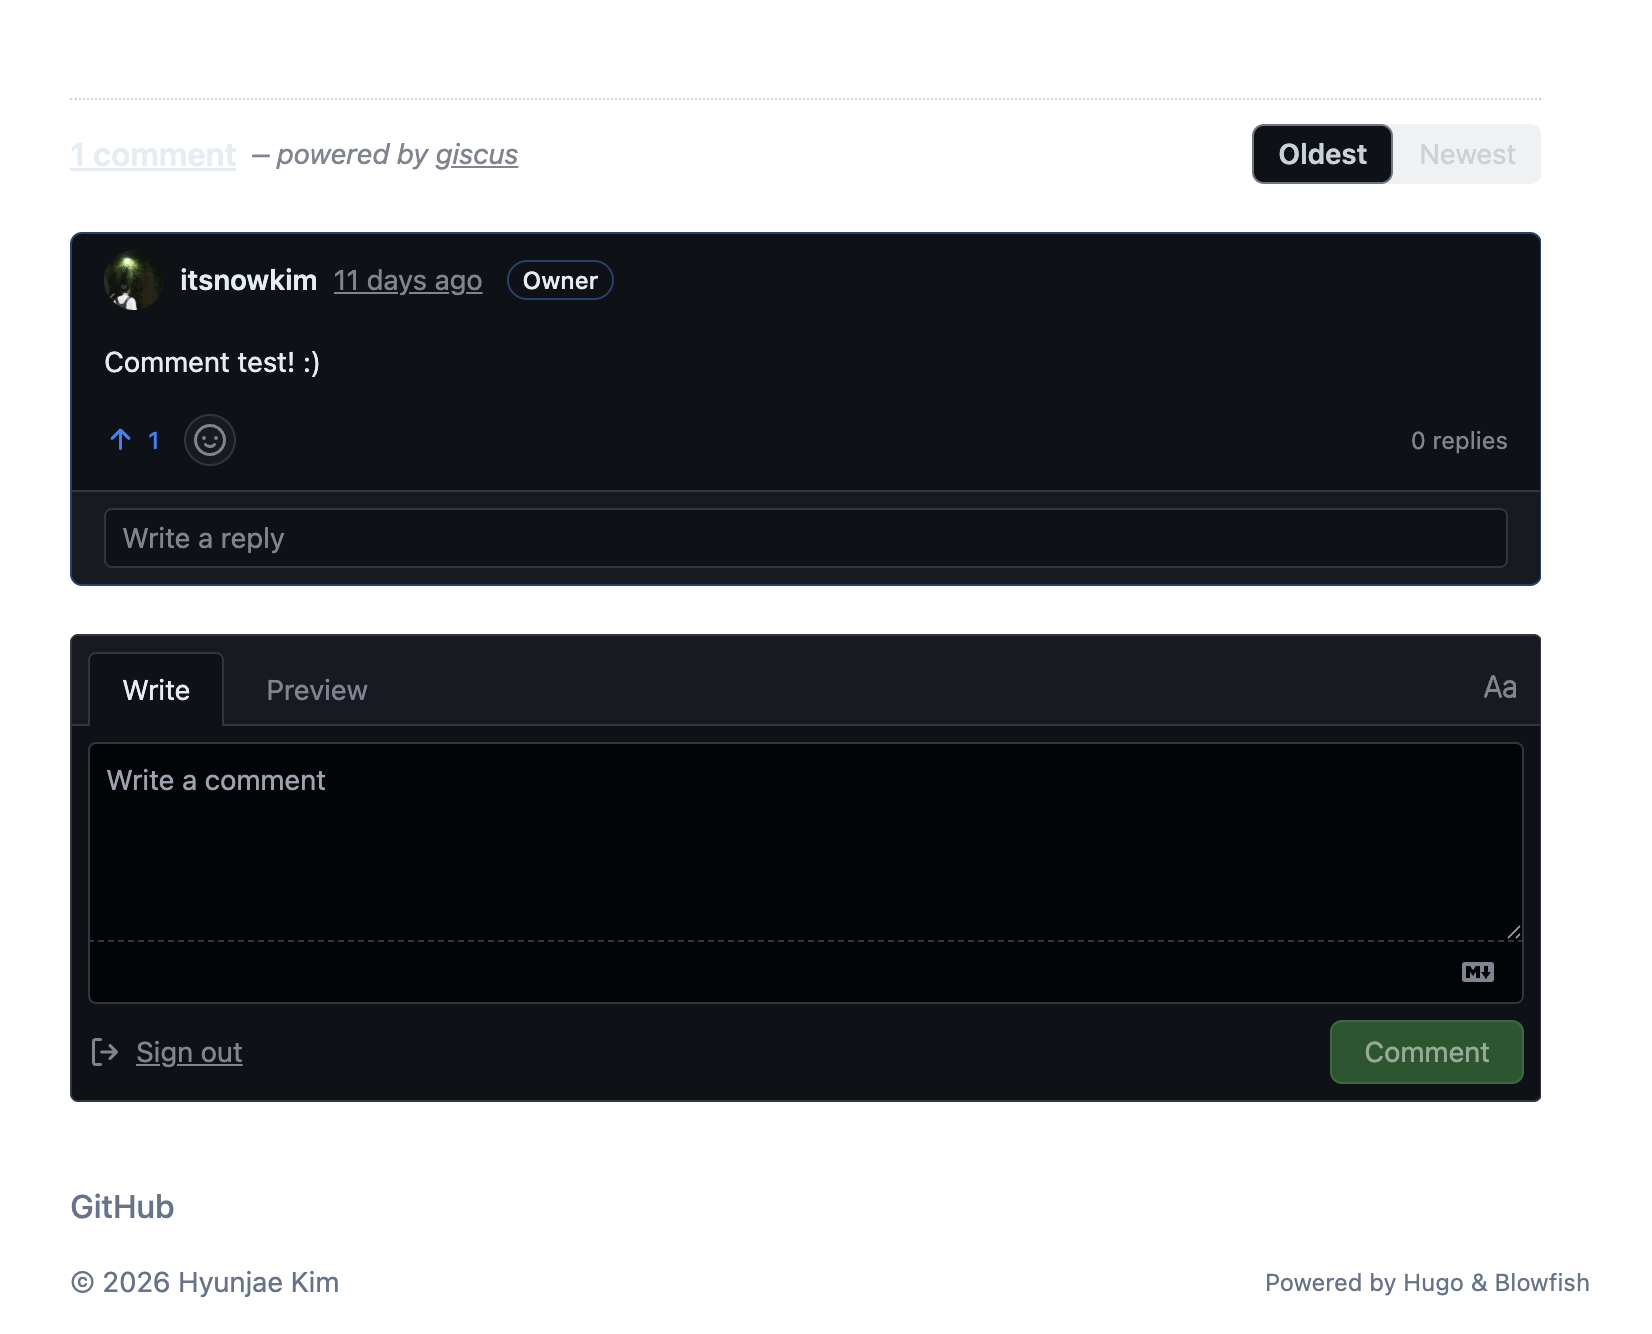
Keeping It Free#
Other than buying the domain, I did not have to pay for this setup. Netlify can charge when deployment, push, or Function usage grows, so its current policy is worth checking. For a personal blog, it should be fine for now.
The important part is that content and infrastructure are separate. Posts stay in Markdown, while the theme, hosting, comments, and data store can each be replaced if necessary.
Closing Thoughts#
AI agents have made implementation much easier. That makes it even more important for me to focus on deciding what is worth building, what was inconvenient in practice, and what I learned from it.
This blog is not a finished system. It is a place to keep recording the problems and decisions that are mine.